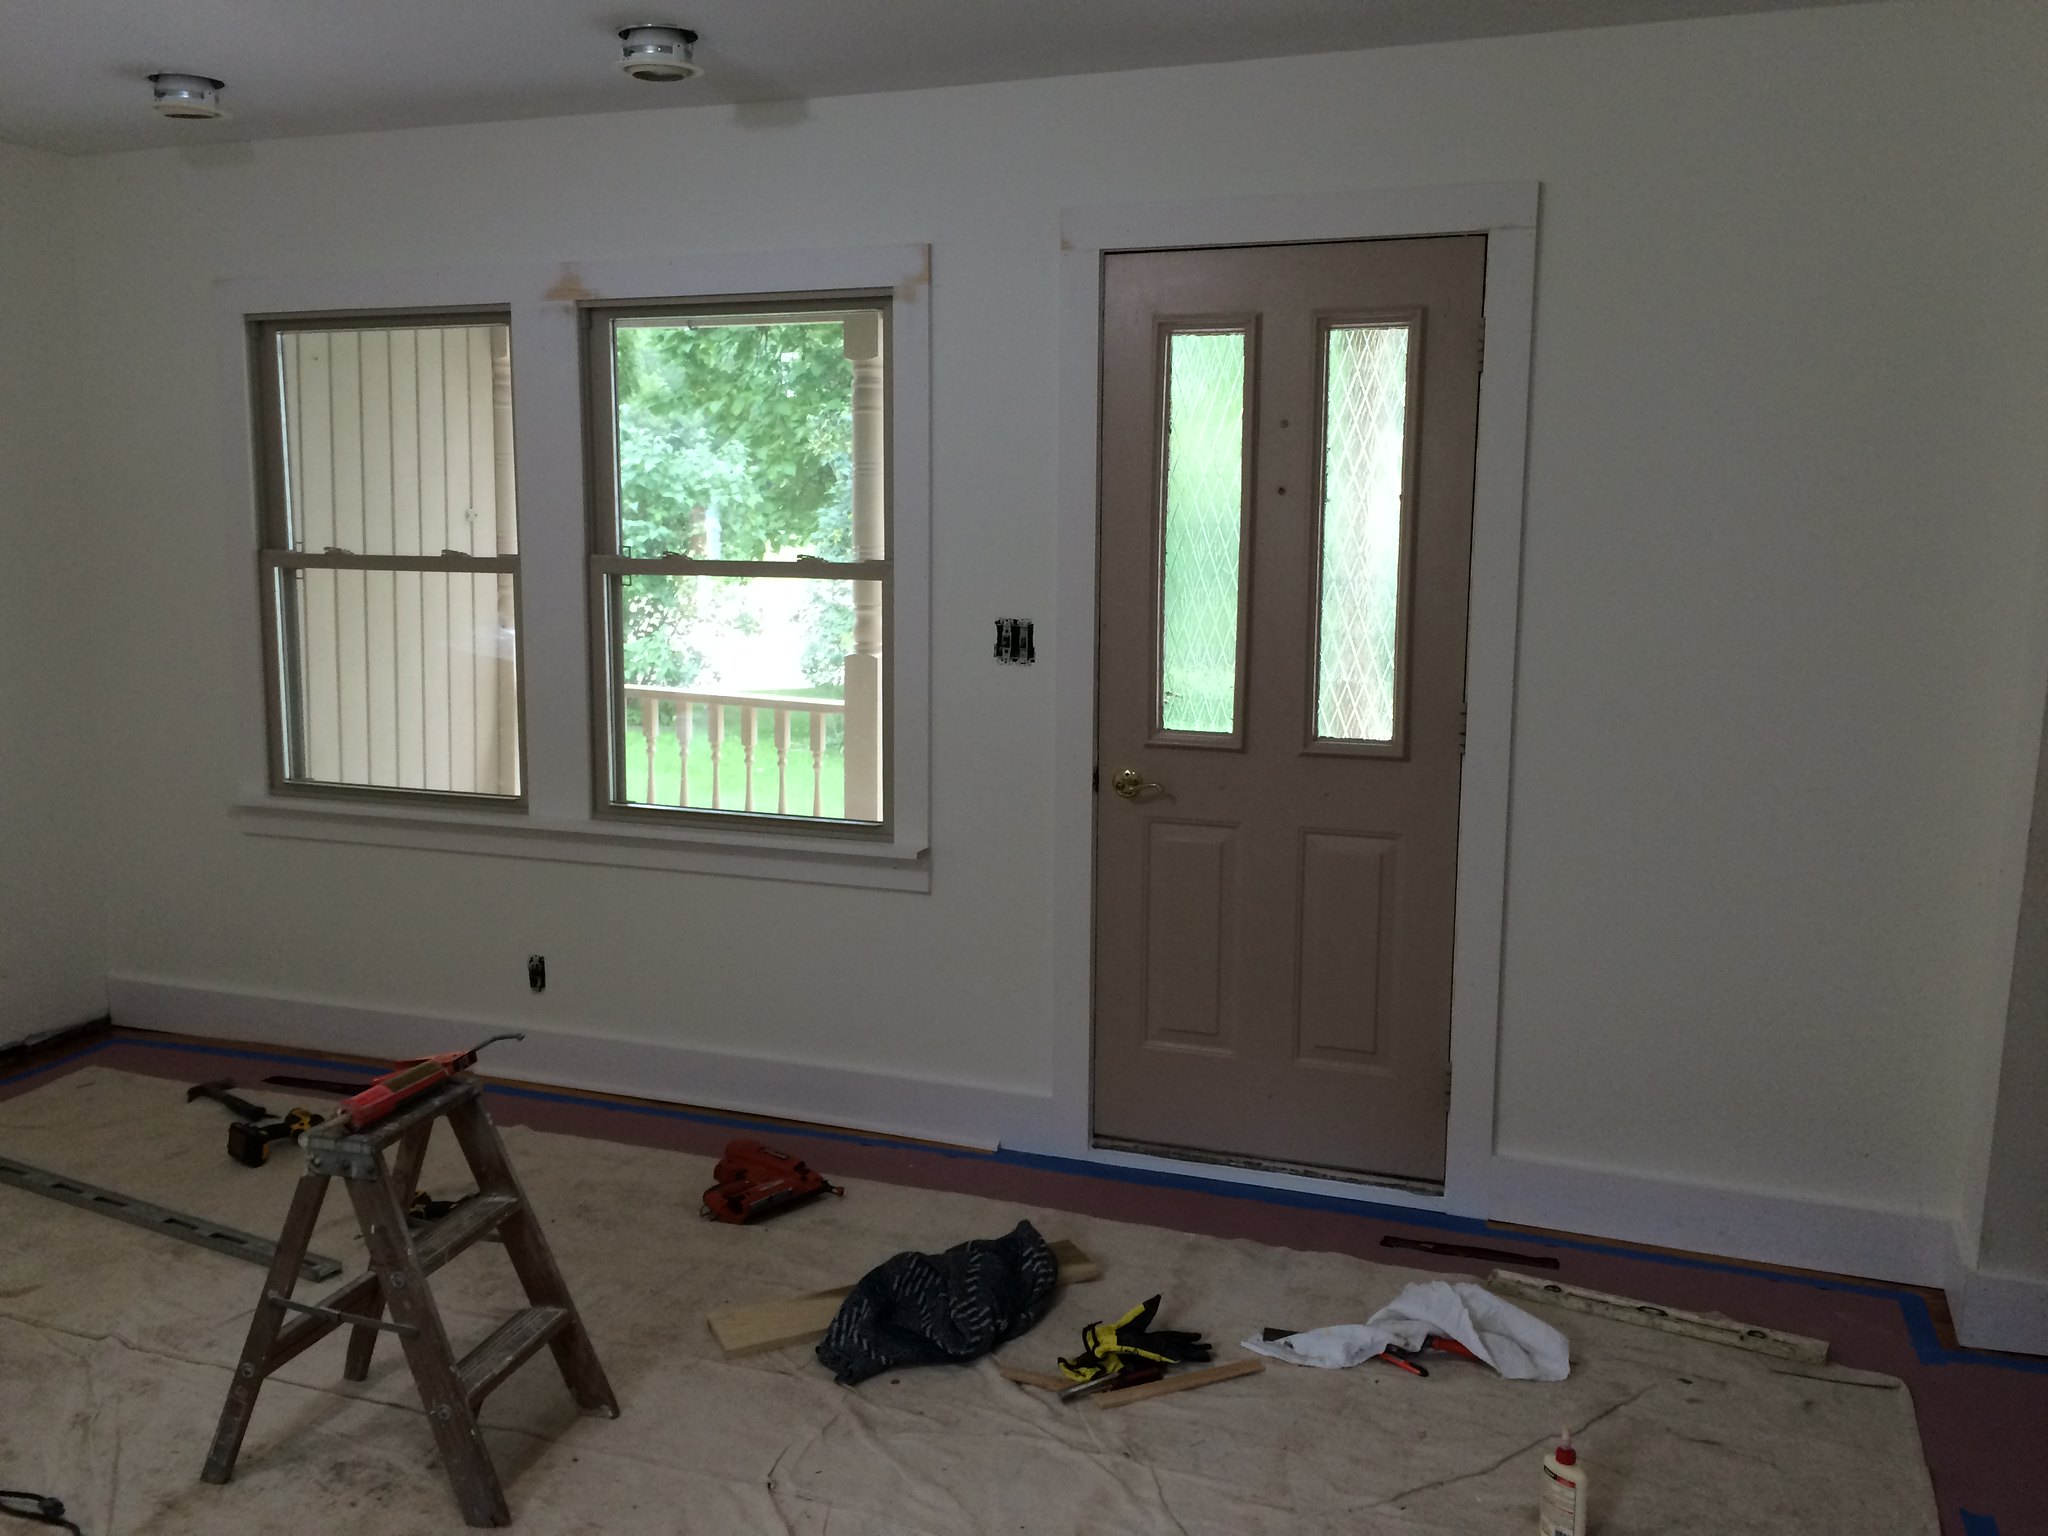
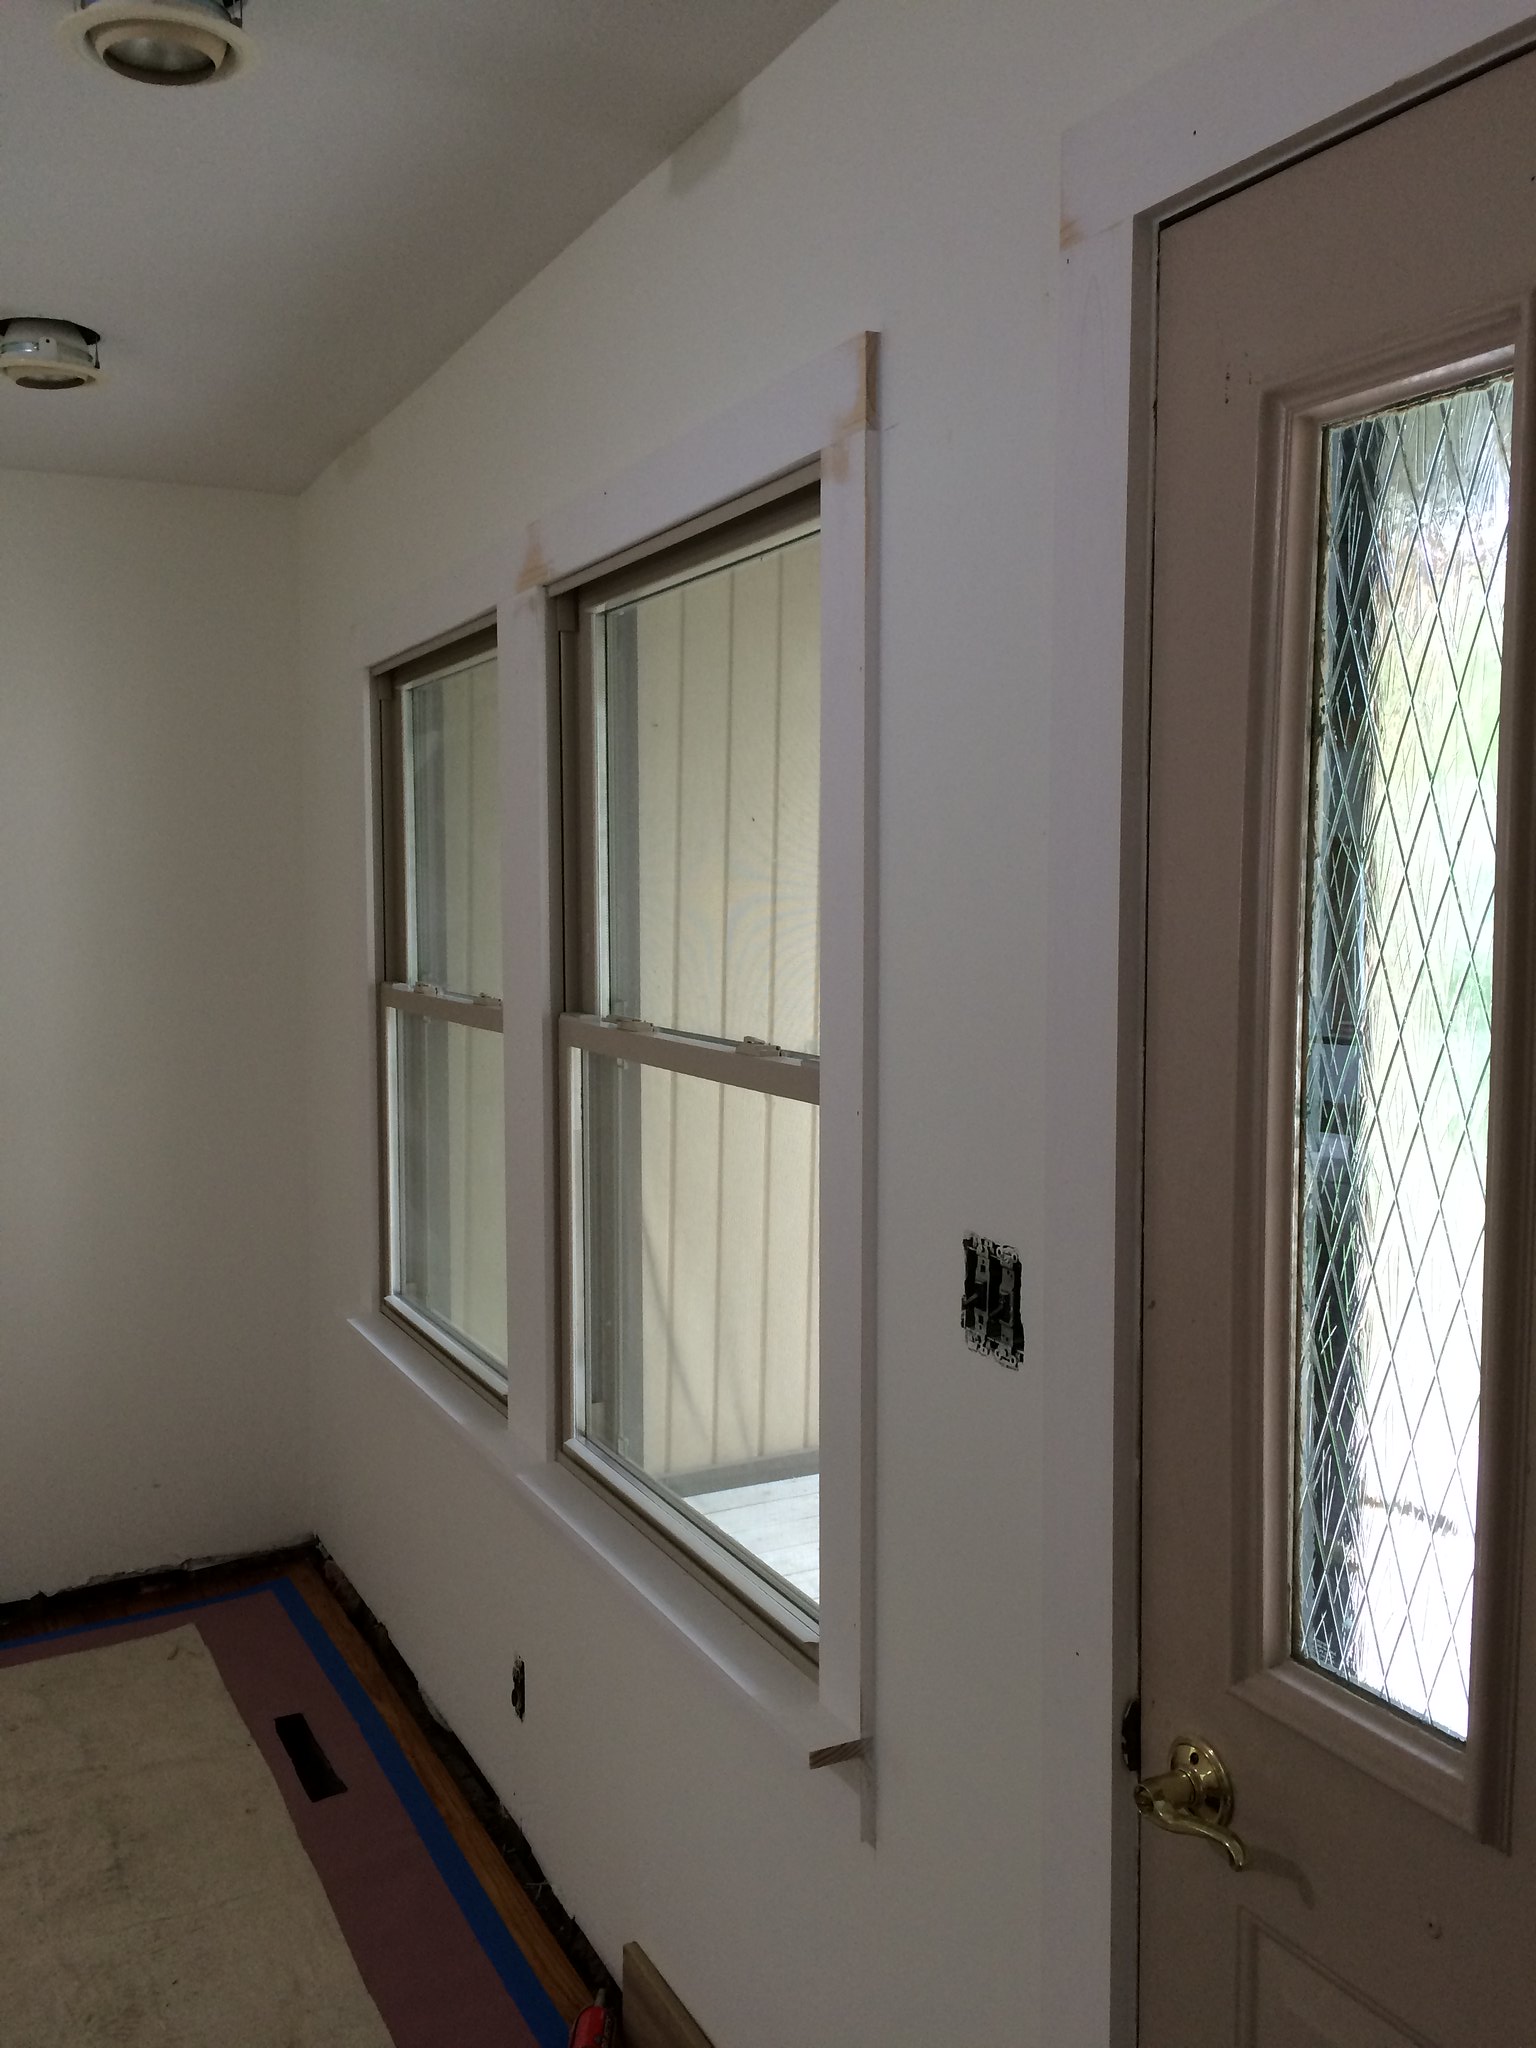
yes, I concur with neighmond, extend the stool cap out a bit...stool cap is the interior 'sill'...I would also suggest rounding them over a bit so paint will hold better and to soften the blow if someone bumps into one....I like having plants on some of my stool caps so wider is better for me...what plans do you have for them? that will help decide the dimensions...I think they look appropriate the way they are now...
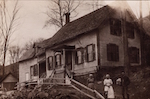
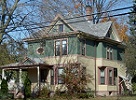
I think wide is fine, our 1860s ones are quire wide and have a pleasing shape detail to them. Here is a picture of one, its a thought for something a little different and period, but what you have looks fine to my eye.
excuse its grubby appearance, cats, woodstove and a dire need for the paint to be refreshed..... too many jobs, too little time
Good catch on the stool cap detail...I looked at so many pictures of old homes, and this was covered up in all of them so I missed it. I am going to fix that on the rest of the windows. I sometimes like to put small things on windowsills. I likely won't put any large plants on there...maybe little ones. I think I'm happy with the width/depth...we arrived at that width because everything is made from 4" wide pieces for simplicity. I was told that the edges should just be taken down with a little sandpaper, but maybe they should be a little more sanded than they are currently.
The one thing that does catch my eye from an originality standpoint is that they look a little thin - they look like regular 1" nominal stock to me, which is normal for modern houses, but older houses would have used full dimensional lumber i.e. 5/4 nominal ( actually comes out about 1") or greater in the modern sizing scheme. Is it just my eye? The thinner stuff is fine for the casings but you really see the width on the sill.
Mick, it's true. I'm using what was easily available...I hope it doesn't look too strange. It's getting to be quite expensive already with this trim, but I will check if the thicker stuff is much more and an easy switch. It might be too late.
The one thing I do with window sills that is unusual is that I put artwork on there all the time. I am an artist, and I like to leave my works-in-progress on windowsills while I do other things so I can decide what do do next.
I agree with extending the stool cap and, if possible, making them a little thicker; that's how they are in my house on both counts. Mine are actually rounded over with a router (or whatever they had back in the day). I think that looks very good. If you keep the thinner wood then just sanding the edges a little might be enough -- that will help the paint keep stuck on and avoid a sharp feel if someone touches the edge. Or round the edges over just slightly.
I agree , they look ok but the originals in my house are all made from 2x material which was thicker back when the house was built. some were missing or cut off flush. mine extend about 2 inches from the wall and also they are about 2 to 3 inches wider than the widest part of the window casings. the front edge is sloped inward slightly. they rake backwards about 4 degrees. also rounded off with a 1/4" roundover router bit.
If you want you can plane them flush and then extend them. It doesn't matter that the part below the window is thick, so long as the part that sticks out from the wall is a bit thicker. that's what you see.
what I did was fit the piece , then put glue on the joint and drove three screws into the front edge of the sill, then I cut taper plugs to hide the screws and sand it all flush.
to get the full dimension lumber, look around, look in old house parts places or steal a stud from in your wall or if you can find any old door that isn't needed , these are usually a good source of appropriate lumber.
for now they look perfectly presentable but to make them look right I'd cut them flush with the wall and extend just the part of the sill that you can see.. or if you are going to paint them anyway you can just add more thickness where needed and use paint and filler to hide any sins. I think you are wise to make them all like this and like each other too.
on one wall I wanted wainscott. so what i did was buy the wainscott cap and joined that to the sill. It looks kinda like it was siupposed to be there I think..
contractors love to use whats off the shelf in home depot. Don't worry it's something you can do more work on later if you want to. Mine are all fir and I wouldn't use anything but fir so it matches my other woodwork. If you paint all your trim the species isn't important and you can get away with more "sins"
in my house the side casings are all full 3/4 but the top one is cut at an angle on the ends and that one is a full inch. all the casings have a 1/4 " roundover. If you stop and think about it a bit, the top casing has to be thicker or else it's roundover would create a gap where the side casings butt up underneath it.. The outsides of my house had similar casings and because this top casing is thicker, it tends to cause the drips from the top edge to be a bit further away it keeps the rain off the ends of the side casings.
I always see contractors substituting home depot 3/4 inch trim which is closer to 1/2 inch and to me this is one thing that separates old house construction from new renos where they didn't' care enough about the details to go to the expense, to get the right material. I't quite a noticeable thing to me but I know many others wouldn't care.
for this reason I'm always on the lookout for thicker old boards and I tend to hoard the nice ones for projects like this where the thickness shows. If it's painted or if you are comfortable making good joints you can glue the lumber up and re-saw it to get to your desired dimension or have a woodworker do it for you.
I recently created new sills and casings for some downstairs windows that never had them. I got the material from a set of stairs that was removed from an old building so the wood was thicker. old growth , tight grain and a good match to everything else. To me , craftsman houses always have an overbuilt robust look and keeping this look is important. I do see a lot of houses around me where they renovate and don't care.
I noticed they have also omitted the plinth blocks from the bottom of the casings on the door. New houses usually don't have this feature and most older homes do.
all my baseboards are about 8 1/4 x 1 inch. full dimension 1 inch lumber is hard to get or pricey, so they often use 1x8 which is smaller. you can cheat and add a couple of wood strips to the backside of the baseboards to make them appear thicker. the reason most of these features get omitted is because wood in those dimensions isn't readily available and even if you go to larger lumber sizes, youll soon find that to get all the material in the correct dimension you;ll be buying a lot more lumber than you need or having someone mill the lumber for you in custom sizes. You can't get it of the shelf.
in front of the baseboards there is a 1/4 round. the corner round ends at the plinth blocks. this is done so that if the baseboards don't accurately fit the floor the quarter round will follow the floor and hide the gap. maybe it makes sweeping up easier too.
where you draw the line is up to you. Perhaps you have an untouched window somewhere.. any windows in closets or weird places where they haven't been changed? you might be able to observe how they did the casings on other old homes near you where they haven't rennovated. even if you look at the outside casings that might give some clues to what's original. Since you seem to be painting your casings you could just add a strip of wood under the sill and call it a day if you are happy with that. another thing you can do to fancy things up is add a fancy trim bit on top of the top casing.. there are a lot of different styles. They vary with age and the style of the house but if keeping your house in the original style is important you can go to quite a bit of expense or effort on these details.
In my area, all the craftsman houses have the upper trim cut on an angle and this is a feature of the style that I would be careful not to omit. It's a feature like the way they did the triangular brackets that appear to support the roof which is also common to craftsman homes in my area.. I'd call them trademarks. New homes mimic the style but they always cheat on the dimensions so you can tell new from old pretty quickly this way. Phil